Let’s say you want to introduce a new feature to your users. Maybe you made it in response to their criticism or a new market opportunity, and you want to get it out there as soon as possible. Do you know what needs to be checked before you go into production with your change? How can you be sure that the change you’ve made won’t break existing functionality?
You’ll need a deployment pipeline to answer these questions. Before an aircraft may take off, the captain and crew must complete a series of preflight tests on their checklist. Is there enough fuel in the plane? Is there a free and secure right-wing flap?
Consider each modification to your codebase as a plane about to take off from a runway. Your very own preflight checklist contains everything you need to double-check before your modification goes live.
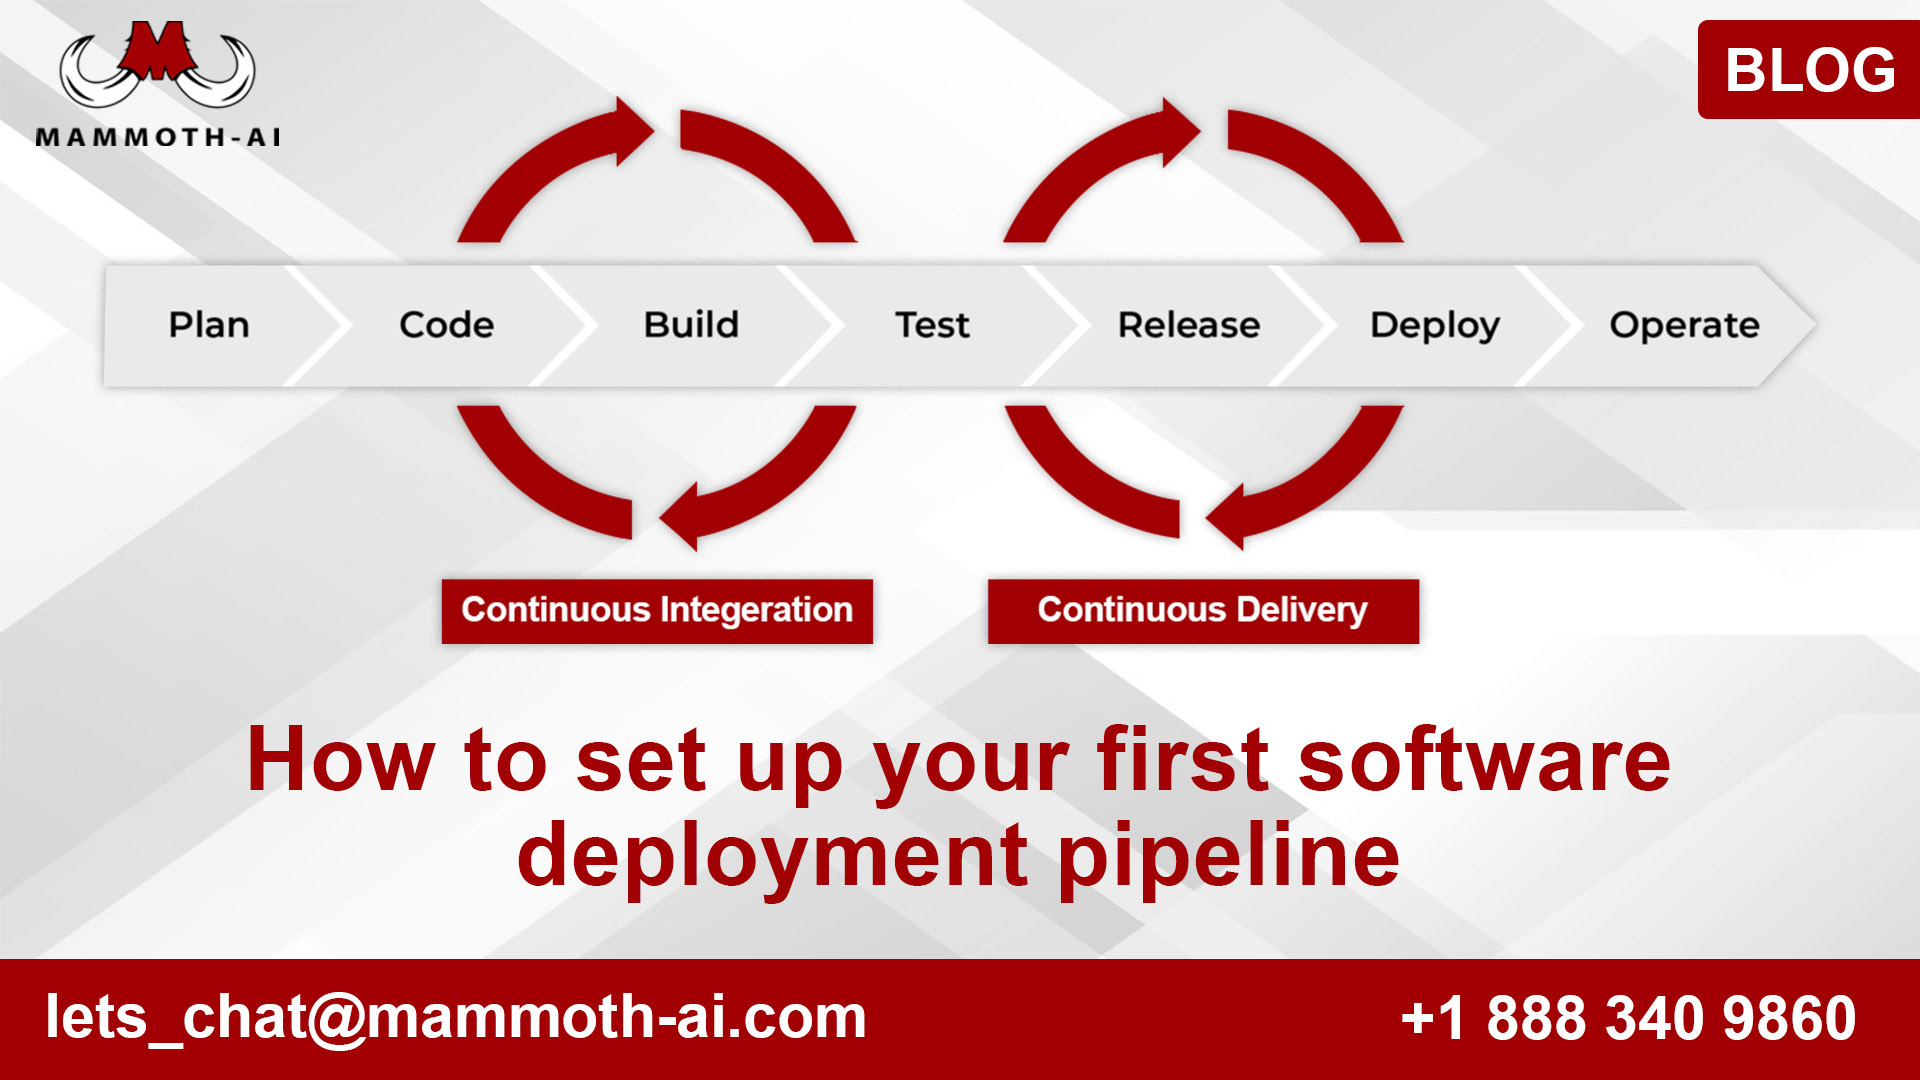
It’s your deployment pipeline’s role to ensure that only modifications that are ready for production are permitted to fly. Here are three important measures to take.
1. Set up a build server
Continuous integration (CI) servers are another name for building servers. You would have been required to install and host your own server ten years ago, but there are now many cloud-based SaaS CI alternatives to get you up and running quickly. Each has its own set of benefits and drawbacks, but it doesn’t matter where you start. They all have the same basic functionality, and switching from one to the other is usually not too difficult.
If you use a hosted version control service like GitHub or GitLab, their continuous integration (CI) feature may already be included in your package. Install Jenkins if using a cloud-based CI server isn’t an option. It’s free and open source.
You can set up your first build once you’ve set up a build server (and they all offer guidelines to help you do so). Most CI servers now allow you to describe your build using code. You check a file with a description of the build steps you want to run into the root of your project. The amount of configuration necessary should be low, with appropriate defaults.
Begin by compiling or packaging your application. Consider what your code needs to do in order to run in production and work backward from there. Perhaps you’ll need to create a Docker image or bundle some JavaScript using webpack. The goal is to establish a build process that produces the artifacts you need to deploy to production on a regular basis.
Make sure it’s configured to run whenever a change is committed to source control. Every update to your codebase will be subjected to your preflight inspections in this manner.
2. Set up your checks
The value of a deployment pipeline is determined through automated testing. Some tests and static analysis will most likely be included in your checks. For each of your preflight inspections, create a distinct build step. Separating them allows you to prioritize speedier actions so you don’t have to wait as long for failure feedback.
Running a linter like eslint as a first build step ensures that the code adheres to your team’s coding standards.
The automatic testing comes next. You might have one build phase for unit or acceptance tests, another for your end-to-end test suite, and yet another for contract tests that examine how third-party services work.
When you have good test coverage, this strategy works best, but you can start even if you don’t. Even if you still need to do human testing after all of the automated tests pass, you’ve built up an early-detection technique that will help you catch some bad changes before you have to do manual testing.
Even if you only have a few unit tests, set up those test builds. Once you see the existing tests running and showing their effectiveness, you’ll be surprised at how motivating it can be to write more tests.
Automated tests are intended to catch bugs that have already been identified. They cover cases for which you are already aware that testing is required. These tests’ purpose is to demonstrate that a modification isn’t ready for production, and passing does not imply that the program is. It’s up to you and your team to figure out what else factors into deciding whether or not a modification is ready to go live. However, the more comprehensive your test suite is, the more automatic this decision-making process becomes.
You should also incorporate some security checks in your pipeline. You may use an external service to examine your list of dependencies for known security vulnerabilities. You might perform static analysis to look for typical coding errors that contribute to security vulnerabilities, such as password checking. Dynamic analysis tools can be used to ensure that your application cannot be hacked using specific inputs.
If the new code causes any of your tests to fail, the modification is halted. After passing one series of checks, your change moves on to the next. You’ll know you’re ready to fly if it passes all of your checks.
3. Add a deployment step
The ability of a deployment pipeline to integrate your automated checks into your deployment is where it really shines. Consider the end of your deployment pipeline as a button. The button is enabled once the app has passed all of the tests. All you have to do now is press the button to launch your modifications into production.
Automating production deployment can be difficult for some teams. In such cases, deploying to a test environment is a good place to start. Add a build to your CI server that runs a script to deploy your application to a test environment. It should be linked to your test builds so that it will only execute if all of your tests pass.
You can make this step run automatically if your deployment procedure doesn’t cause too much downtime. This will ensure that your test environment is always up to date. You’ll have a better notion of what’s required to automate the path all the way to production once you’ve gone through this procedure.
Don’t be concerned if your entire deployment procedure isn’t yet automated. Understanding all of the present manual steps so that you can automate them one at a time is the first step in automating anything. Begin with the basics: Initially, your deployment build may only contact someone who performs manual deploys. That’s fine for the time being.
Ready for takeoff
If you follow these three stages, you’ll have the foundations for a successful deployment pipeline. All of the steps to production will be clearly written out, and the visibility provided by the pipeline will allow your entire team to view the production path and identify and discuss potential changes.
It’s priceless to have a set of checks that show how healthy your application is. The CI server may be viewed by anybody on the team to see if the build is red, green, or running. And if something goes wrong, your team will be the first to know and will work together to get things back on track. The fuel pump has been turned off, and the doors have been locked—the time it’s to take to the skies.
For more info: https://www.qaaas.co.uk/testing-services/
Also Read: https://www.guru99.com/software-testing.html